Using an HDMI Splitter to Connect a TV and Projector Simultaneously
1. Introduction
In the modern multimedia landscape, the desire to share content across multiple screens is increasingly common. Whether you are setting up a home theater that serves both a cozy television experience and a cinematic projector view, or a commercial space like a sports bar or conference room, the need to display the same image on two screens simultaneously is frequent. An HDMI splitter is the most straightforward and cost-effective solution to achieve this. This article provides a comprehensive guide on using an HDMI splitter to connect a TV and a projector at the same time, covering the setup process, technical considerations, and troubleshooting tips.
2. What is an HDMI Splitter?
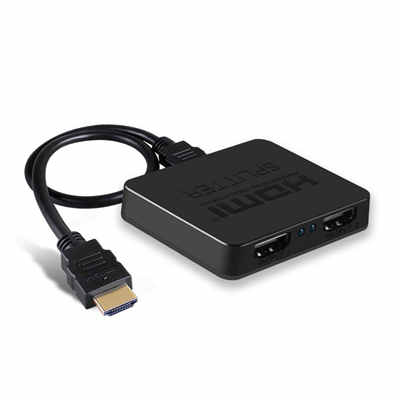
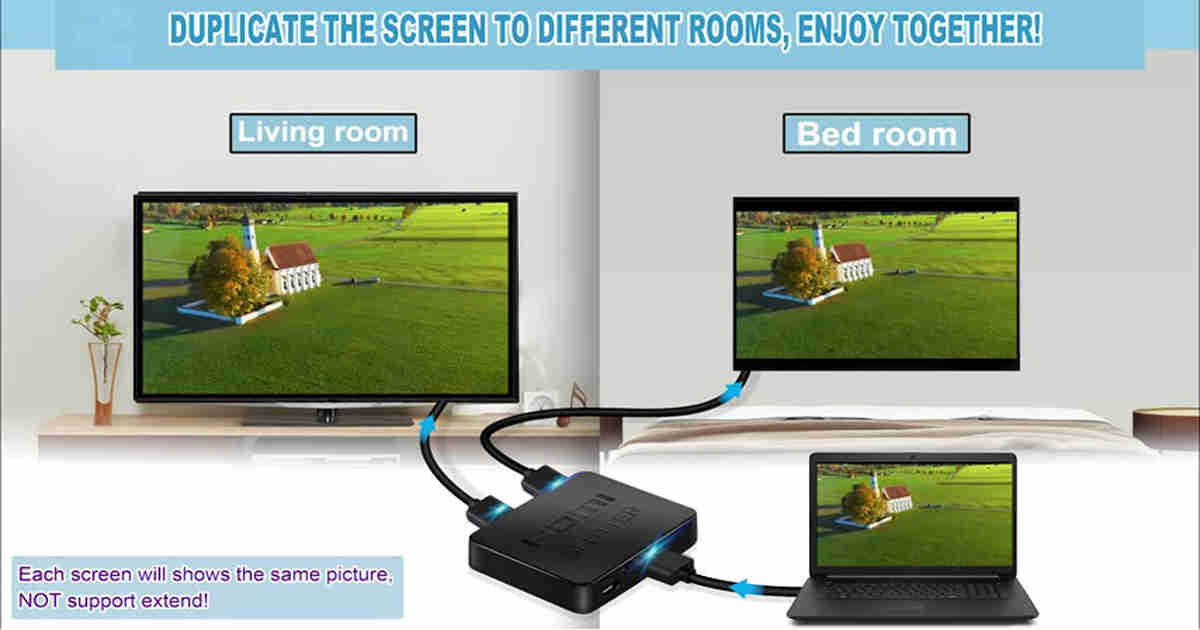
An HDMI splitter is a hardware device that takes a single HDMI input signal and duplicates it across multiple HDMI outputs. Unlike a switch, which allows you to select between multiple sources for one display, a splitter sends one source to multiple displays simultaneously. In the context of this guide, the source—such as a cable box, streaming device, Blu-ray player, or gaming console—is connected to the splitter’s input. The splitter then outputs that exact signal to both the television and the projector.
2.1 How It Differs from an HDMI Switch
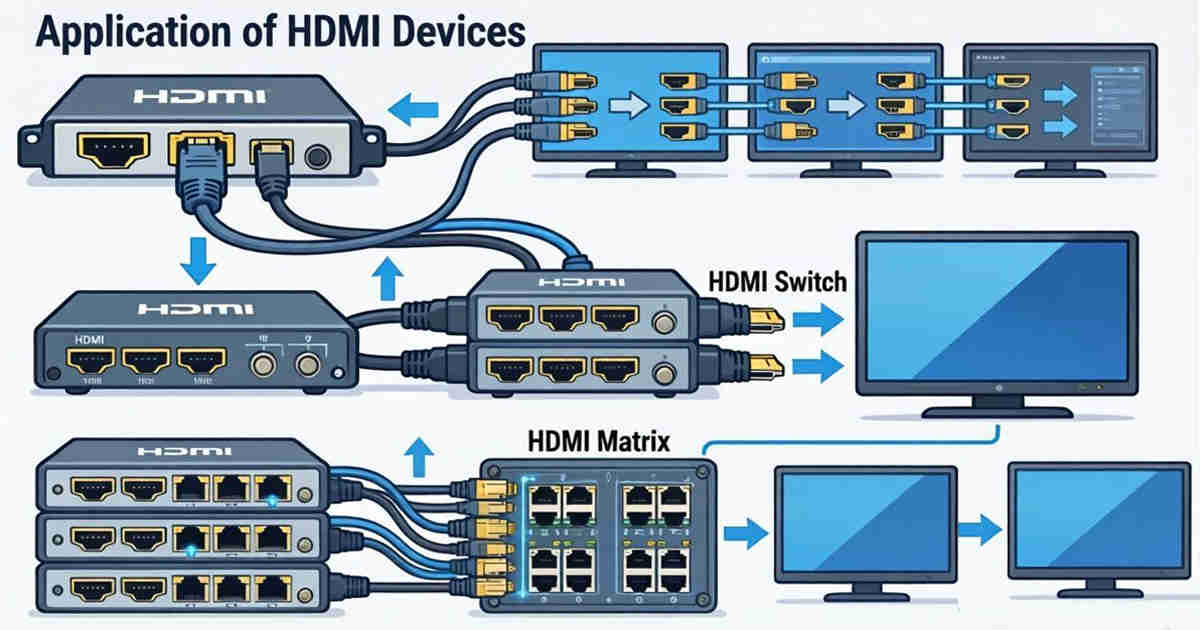
This is a common point of confusion. An HDMI switch connects multiple sources (e.g., PlayStation, Apple TV, Chromecast) to a single display. An HDMI splitter connects one source to multiple displays. For a dual-display setup, you require a splitter, not a switch.
2.2 Key Features to Look For
When selecting a splitter for this purpose, consider the following:
- Ports: A 1×2 splitter (1 input, 2 outputs) is sufficient for a TV and projector.
- Resolution Support: Ensure the splitter supports the maximum resolution of both displays (e.g., 4K at 60Hz).
- HDCP Compliance: Look for HDCP 2.2 or 2.3 compliance to ensure compatibility with protected content from streaming services like Netflix or Disney+.
- Power Source: Most reliable splitters require external power via USB or a wall adapter to maintain a strong signal.
3. Benefits of Using a Dual Display Setup
Connecting both a TV and a projector to the same source offers several advantages:
- Flexibility: You can choose the viewing experience based on the time of day or content type. Use the TV for casual viewing with ambient light, and switch to the projector for a cinematic experience in a dark room.
- Dual-Zone Viewing: In a commercial setting, a TV behind a bar can mirror the main projector screen, ensuring patrons don’t miss the game while ordering drinks.
- Cost Efficiency: Instead of purchasing two separate media players (e.g., two Apple TVs), you use one source for both displays, reducing hardware costs and simplifying the user interface.
- Simplicity: A single remote controls the source device, and the splitter handles the rest.
4. Step-by-Step Setup Guide
Setting up a dual display system with an HDMI splitter is a straightforward process. Follow these steps to ensure a clean and functional installation.
4.1 Gathering the Necessary Equipment
Before beginning, verify you have the following:
- Source Device: Blu-ray player, streaming stick, cable box, or gaming console.
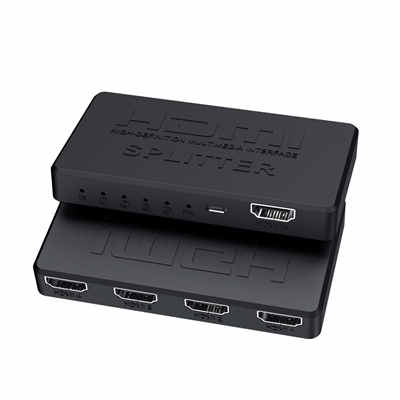
- HDMI Splitter: A powered 1×2 splitter capable of supporting your source’s output.
- High-Speed HDMI Cables: Three cables in total—one from the source to the splitter, and one from each splitter output to the displays. For 4K or long runs (over 15 feet), consider fiber optic or active HDMI cables.
- Displays: One TV and one projector (with an HDMI input).
4.2 Connecting the Hardware
- Power Off: Ensure all devices are turned off before connecting cables to avoid potential electrical shorts or HDMI handshake issues.
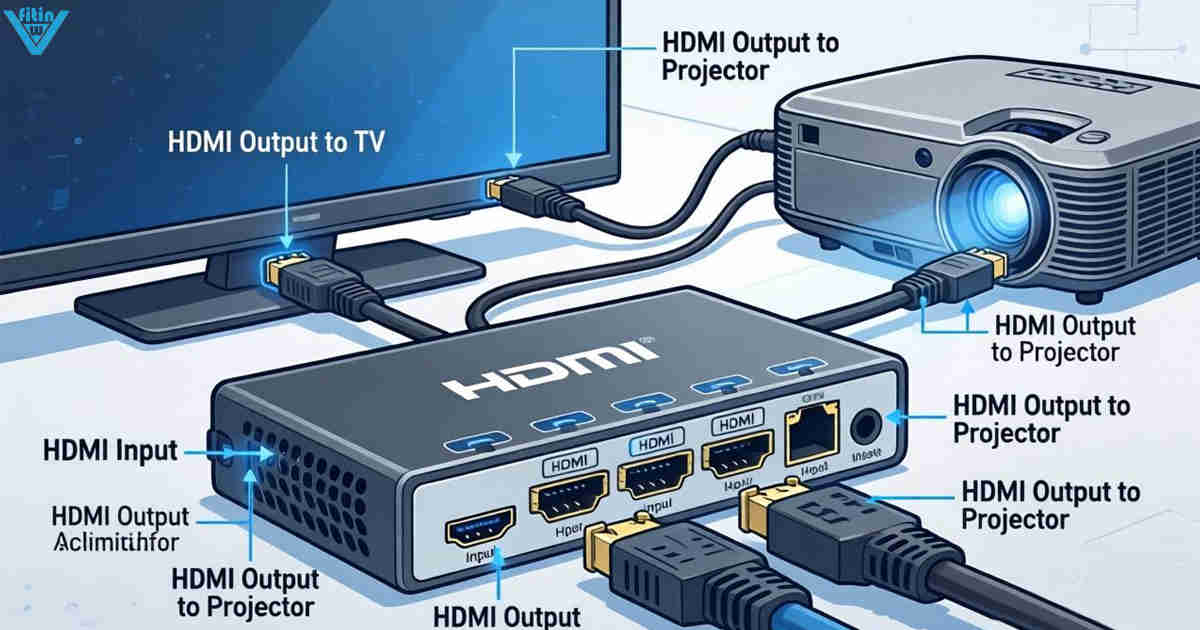
- Connect the Source: Plug one end of the first HDMI cable into the output port of your source device (e.g., the HDMI OUT on a receiver or the back of a gaming console). Plug the other end into the input port of the HDMI splitter.
- Connect the Splitter to Displays: Take the second HDMI cable and connect one end to Output A on the splitter and the other end to the TV’s HDMI input. Take the third HDMI cable and connect one end to Output B on the splitter and the other end to the projector’s HDMI input.
- Power the Splitter: Plug the splitter’s power adapter into a wall outlet or surge protector. Most passive splitters rely on this external power to boost the signal for two displays.
4.3 Powering On and Source Selection
- Power on the Displays: Turn on the TV and the projector. Set both to the correct HDMI input source.
- Power on the Source: Turn on your source device (e.g., Apple TV, Blu-ray player).
- Verify the Image: You should now see the same image displayed on both the TV and the projector simultaneously.
5. Troubleshooting Common Issues
While the setup is simple, users occasionally encounter technical glitches. Here are the most common issues and how to resolve them.
5.1 No Signal on One Display
- Cable Check: Swap the HDMI cables to rule out a faulty cable. Ensure all cables are securely seated.
- Port Check: Try swapping the outputs on the splitter. If the issue follows the display, the problem may be with the splitter’s port. If it stays on the same display, the issue is likely the cable or the display’s input port.
5.2 HDCP Errors
If a blank screen or an error message appears stating that the display does not support HDCP (common with streaming apps), the splitter may be interfering with the handshake.
- Solution: Power cycle all devices. Unplug the source, splitter, and displays for 60 seconds, then power them back on in sequence: displays first, then splitter, then source. If the problem persists, upgrade to an HDCP 2.2-compliant splitter.
5.3 Resolution or Aspect Ratio Mismatch
If the image looks stretched, cropped, or fails to appear, the splitter may not be correctly managing the EDID between the TV and projector.
- Solution: Some splitters have a physical switch (EDID management) that forces a specific resolution (e.g., 1080p) that both displays can handle. If the TV is 4K and the projector is 1080p, set the source device to output 1080p to ensure compatibility.
5.4 Audio Problems
If audio is coming through one display but not the other (e.g., sound plays on the TV’s speakers but not the projector, or vice versa), the issue is often related to the audio format.
- Solution: Go into the source device’s audio settings and change the output from “Auto” or “Bitstream” to “PCM” (Pulse-Code Modulation). PCM is the most universally compatible audio format.
6. Important Considerations
To ensure long-term reliability and optimal performance, keep the following factors in mind.
6.1 Signal Degradation and Cable Length
HDMI signals degrade over distance. Standard copper HDMI cables are generally reliable up to 25-30 feet. If your projector is mounted on the ceiling far from the source, a long cable run can result in “sparkling” (tiny white dots) or signal dropouts. For distances exceeding 25 feet, use active optical HDMI cables or HDMI over Ethernet extenders in conjunction with the splitter.
6.2 EDID Management
EDID (Extended Display Identification Data) is the language displays use to tell the source what resolutions and audio formats they support. When using a splitter, the source must negotiate with two displays that may have different capabilities (e.g., one 4K, one 1080p). Basic splitters may default to the lowest common denominator. Advanced splitters offer EDID management—either via a physical switch or software—allowing you to lock the output to a specific standard (like 1080p) to maintain stability.
6.3 4K, HDR, and Refresh Rate Limitations
If you are using a 4K source with high dynamic range (HDR) and a high refresh rate (e.g., 120Hz for gaming), not all splitters are created equal. Verify that your splitter supports the bandwidth required. For 4K at 60Hz with HDR, ensure the splitter is rated for HDMI 2.0 or HDMI 2.1. If one of your displays does not support 4K or HDR, the source may downscale the signal for both, preventing you from enjoying 4K on the TV while using the projector.
7. Alternatives to a Standard Splitter
While a basic 1×2 splitter works for most users, there are alternative solutions that offer more features or address specific limitations.
7.1 AV Receivers
If you already have a home theater receiver (AVR), most modern AVRs feature dual HDMI outputs (often labeled “Monitor 1” and “Monitor 2” or “Zone 2”). This allows you to switch between or duplicate the signal to a TV and projector. This is often the most elegant solution as it centralizes switching, audio processing, and video distribution in one unit.
7.2 HDMI Matrix Switches
For users who need more flexibility—such as connecting multiple sources (cable box, game console, PC) to multiple displays (TV, projector, office monitor)—an HDMI matrix switch is the superior choice. A 2×2 or 4×2 matrix allows any source to be routed to any display independently, offering more control than a simple splitter.
7.3 Wireless HDMI Transmitters
If running cables to a ceiling-mounted projector is impractical, wireless HDMI kits (using WHDI or WiGig technology) can transmit the signal wirelessly. However, these can be expensive and may introduce slight latency, making them less suitable for fast-paced gaming.
8. Conclusion
Using an HDMI splitter to connect a TV and a projector simultaneously is an efficient and affordable method to create a versatile entertainment or presentation space. By understanding the difference between a splitter and a switch, selecting a device with the appropriate specifications (HDCP, resolution support, and EDID management), and following a methodical setup process, you can reliably mirror your content across two screens. Whether you are designing a home theater that offers the best of both worlds or setting up a commercial display system, an HDMI splitter provides a simple, “set-it-and-forget-it” solution that ensures your audience never misses a moment of the action.
📖 You May Also Like
HDMI Splitters, Switches, and Matrix: When to Use Each - WinFitin
Which device do you need? A comprehensive comparison to help you decide between a splitter (1 in, ma...

Top 5 Benefits of Using an HDMI Splitter for Digital Signage - WinFitin
Streamline your business advertising. Discover how HDMI splitters simplify managing multiple screens...
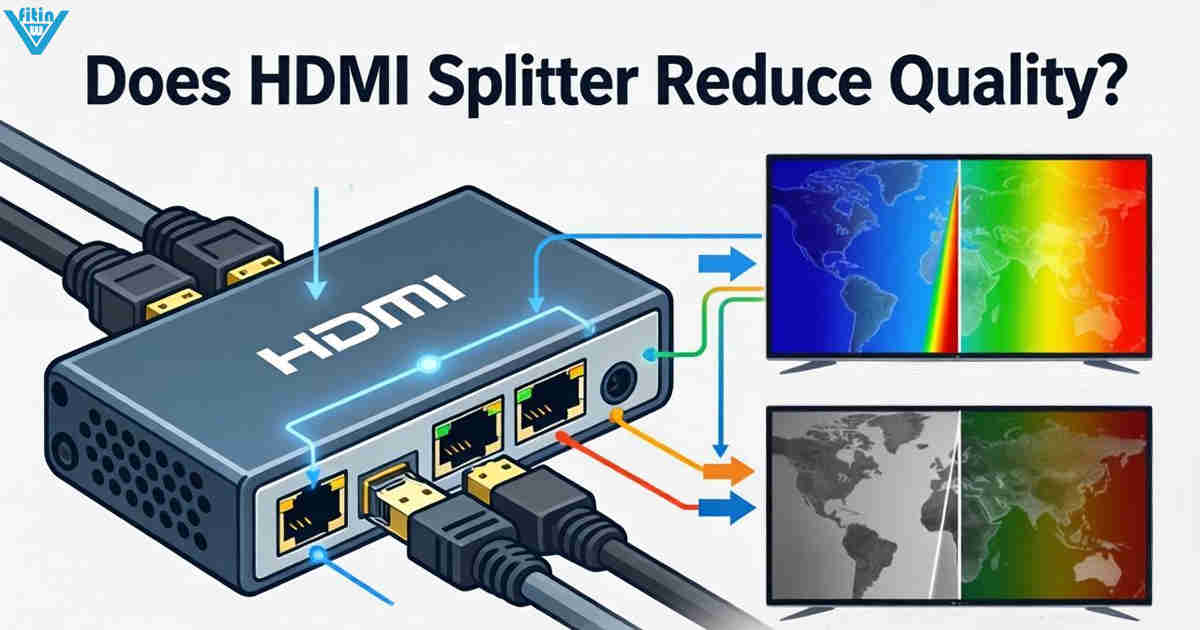
Do HDMI Splitters Reduce Quality? Debunking the Myth - WinFitin
Worried about losing resolution? We debunk the myth of quality loss and explain why digital signals ...
HDMI Splitters for Dual Monitors: Extended Display Solutions
Struggling to extend your desktop across two monitors? Discover why HDMI splitters won't work for ex...